Learning Math, Science, Art, and Craftsmanship by Building a Gigantic Camera Obscura
Documentary Produced by Beck Marshall, Callie Ross, Aine O'Toole and the TEA HS Film TEAm. Enjoy the show!
Imagine seeing an image that has never been altered and it never can be, just a clear original piece of art that looks just as it did through the lense of the camera.
Words by Aidan Robin
That is what the camera obscura captures, an unaltered image.
This year in our film intensive we met with Ian Ruther and his partner Will, and they discussed their experiences with cameras, photography, and the camera obscuras that they had already built and designed. We were meeting with them so that we could be part of capturing a photo of our own in a creative, unique way that models one of TEA’s character traits: craftsmanship. So in October, we traveled to South Lake Tahoe to help Ian and his crew build a new camera obscura, possibly one of the biggest ever.
The Camera Obscura was invented by Johann Zahn in 1685. Ian started recreating this in South Lake Tahoe about seven years ago and has been making them ever since with his partner Will.
We were invited to partner with them, but we had to contribute something to the build-out.
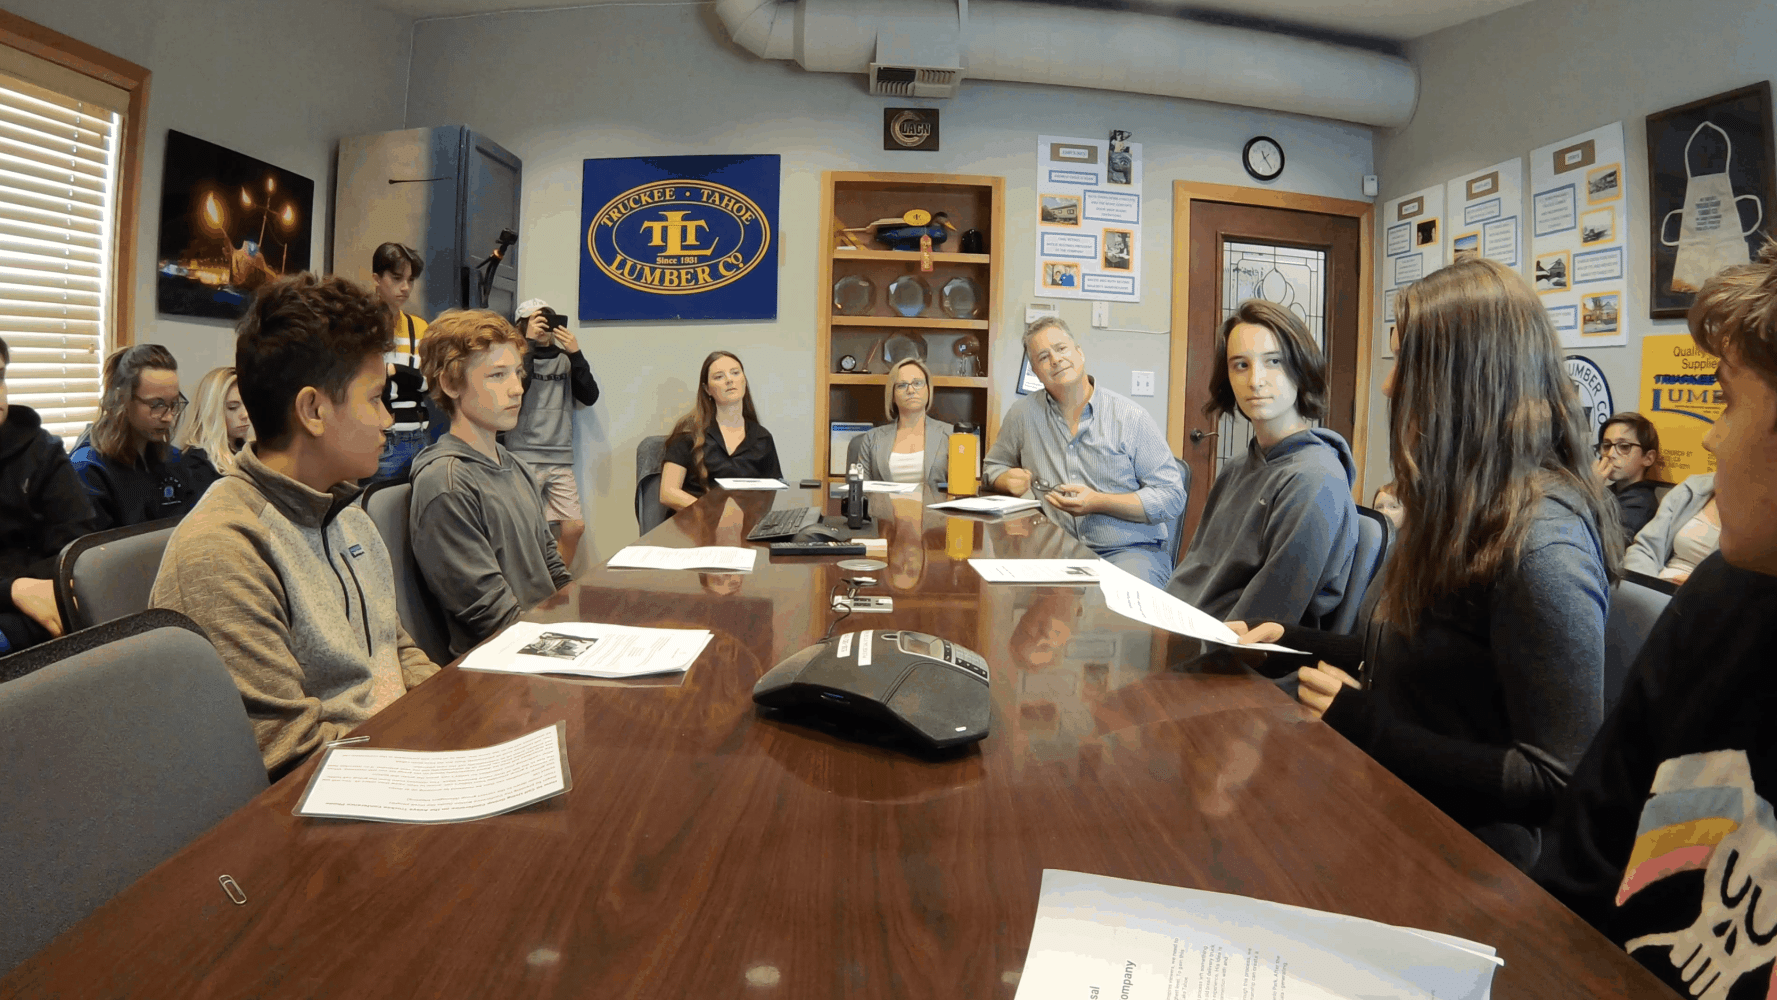
“Guys we got the wood!” Our teacher John said this to us in the middle of class. You could see the pure joy and excitement on everyone’s faces. Earlier that day we presented a media exposure proposal to the Tahoe Truckee Lumber Company’s CFO, General Manager, and Controller. We had 15 minutes to do this and it was our first day of the intensive. Some of us have been doing this for years, others have had just minutes. All of us definitely modeled perseverance and craftsmanship for this presentation.
“What is that?” This was the question we all had upon seeing the beginning of the camera's construction. We had just circled up and talked to Ian and Will for the first time.
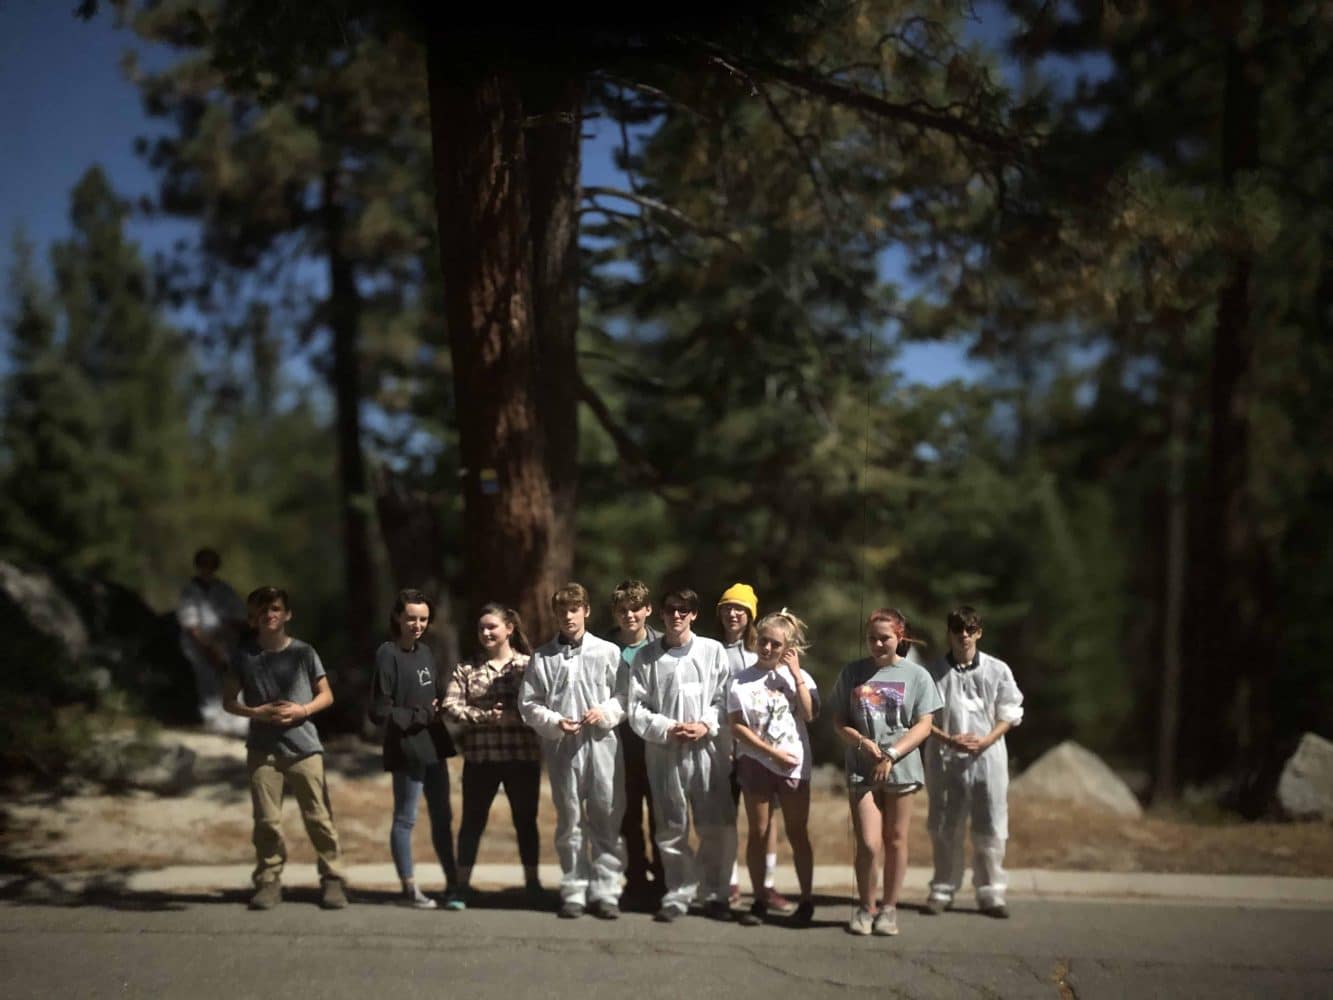
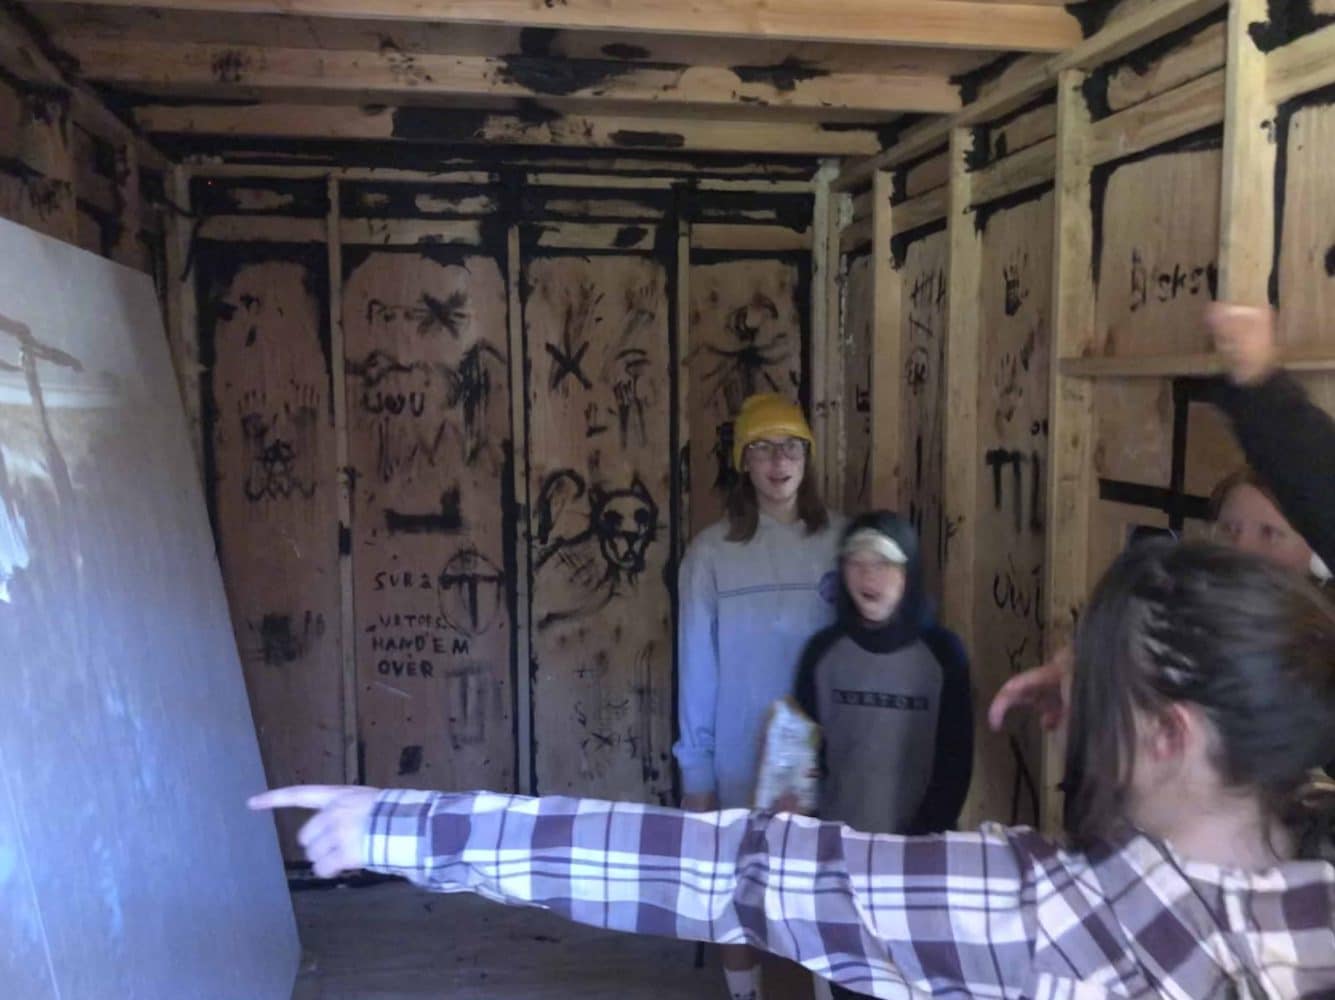
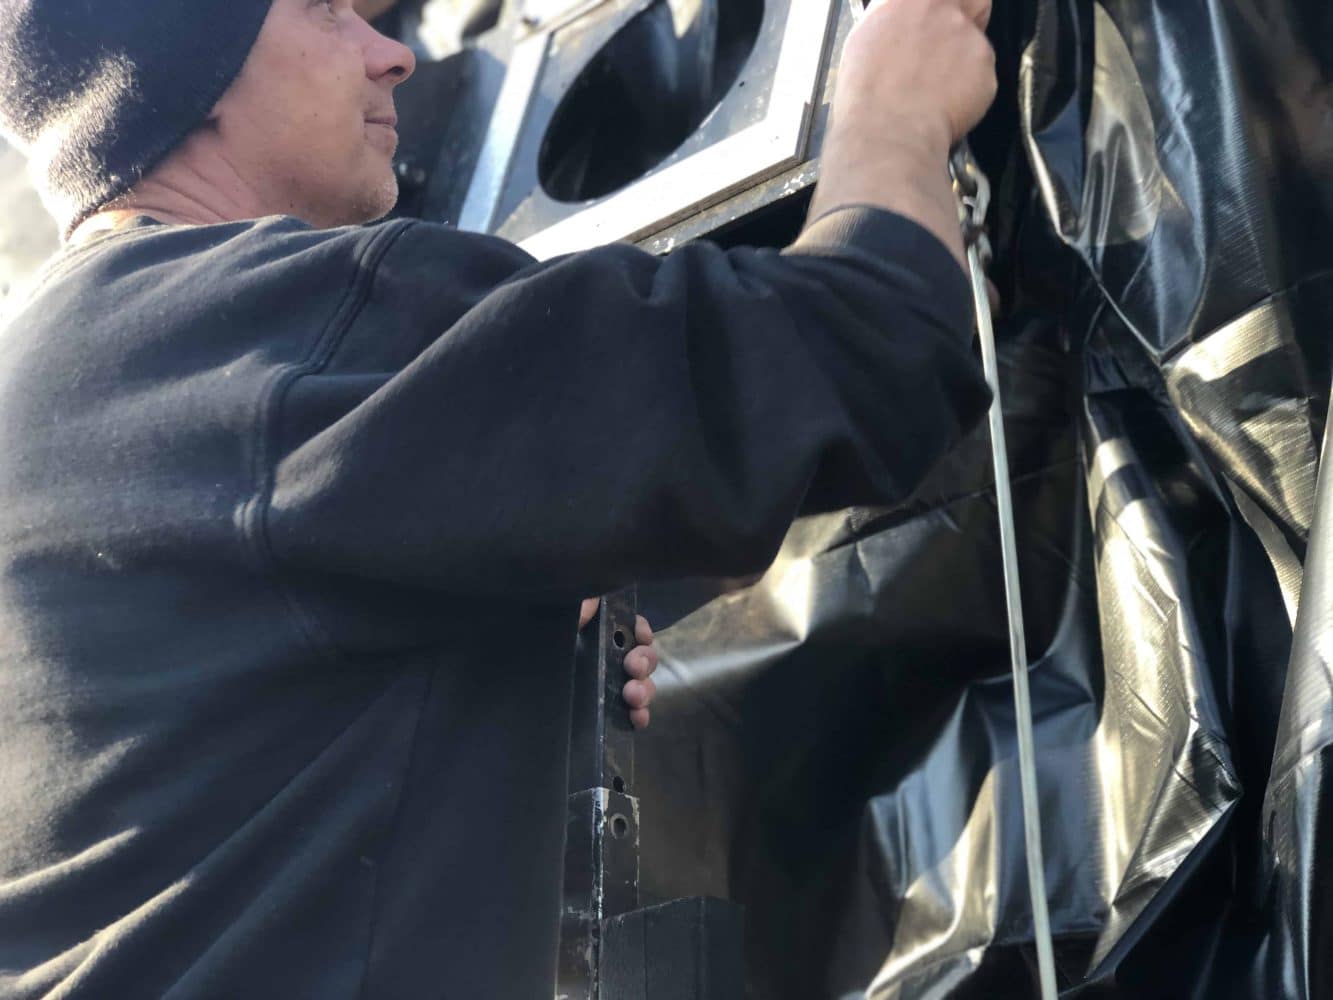
Then we got to work. We got on our suits and grabbed the light sealing paint. We painted the walls in this to seal any light coming into the camera. After we were finished sealing everything we decided to leave our mark in black paint by drawing all over the blank walls. Next was the first unveil for us as Ian and Will mounted the lens to the outside of this giant 8 x 10-foot box. We got to go inside the camera and it was just beautiful.
Following the day’s work, we visited Ian’s gallery and he showed us some of his professional work and the different types of photos he took. Some of his photos were in color and others you could only see in inverted color.
The camera box was transported back to our campus, and it was time for us to do our first capture.
“Look, the photo!” The group in the light-tight photo developing room got the first look at our capture. The first step was making the boys’ bathroom light-tight by covering all of the windows in light-tight material. After that was done we moved the chemicals, solutions, and the red light into the bathroom. We set up the bins in order. We were ready. The lights were turned and the red light burned bright. Some of us filmed and some of us developed photos. We got our gloves on and started. We all counted out loud and watched as the photos came to life.
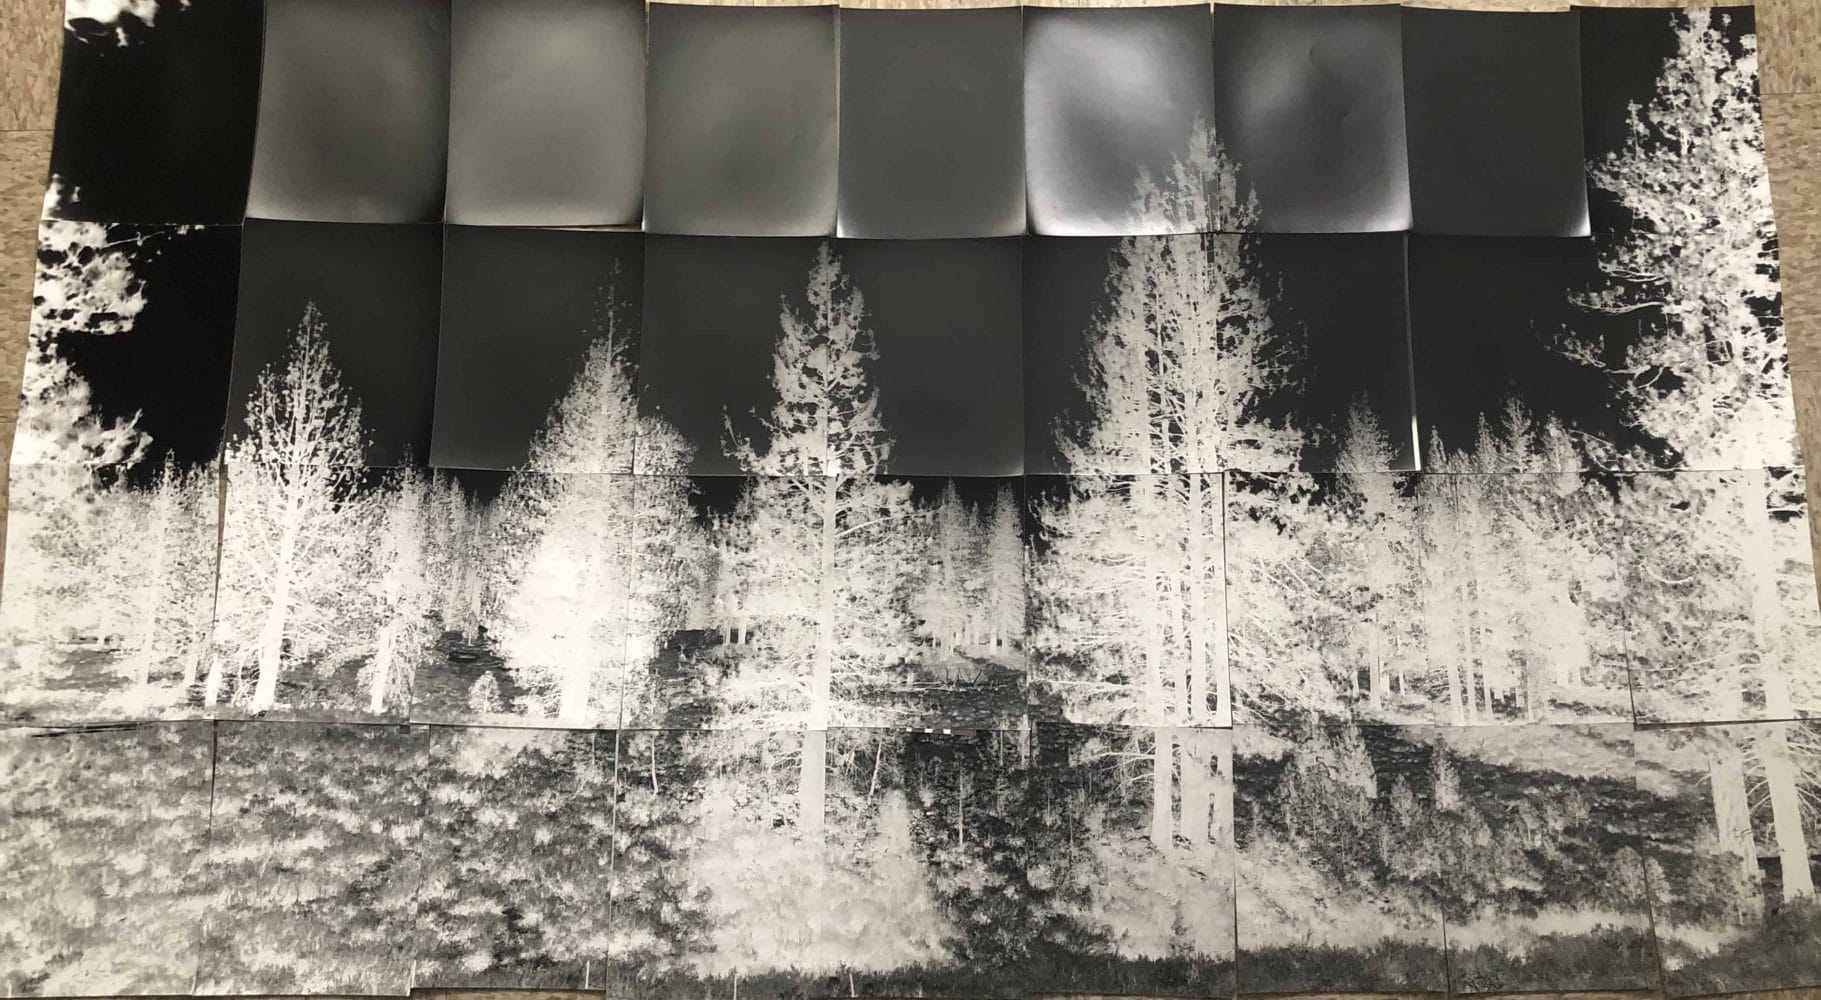
“Why is the pink orange and why is there green in the pink dye?” One of us said when we started having problems with the sponges in the pink dye.
After we developed the images, the plan was to add color back to the images using special photo dye. We had colored most of the photos blue using sponges and were in the process of doing the rest with pink. The first set seemed fine, maybe they came out a little orange, but we went on. Through the second batch of coloring, we started noticing some kind of oil in the dye, we continued and tried to use new, un-dyed sponges but still got the same result of bright orange or dark magenta. We tried making these crazy designs and taking some photos out and leaving behind a blank space instead. But nothing was working. Ian wasn’t happy with the results. We had ruined our work.
Five weeks later, it was the 11th of December, and we decided that we are discarding all of the pictures of the project and starting from scratch. The reason why was because the final product was cool but not very interesting, it wasn’t different. The whole project didn’t really represent craftsmanship in a way that we liked. So, we started thinking of a new way to make this art but different. As Ian said, out of failure comes the greatest opportunities. We eventually found an artist who had done the same type of obscura exposures, but for longer periods of time. Our exposure time was a mere three seconds but this artists’ was six months. With this long exposure you could see the sun’s height throughout the time span of six months. Lines were created from the sun each day and so you could see when things happened on what days.
Even though our last project was a risk and used a lot of craftsmanship, Ian wanted to take it to the next level. This new project will be a never done before piece and will definitely be a huge risk to take, but we are prepared to take it. This will be a huge commitment that we are willing to take and experiment with. This is only the beginning of a new form of art and using creativity. We will be continuing this work into 2020.
Since we could not do a test print to figure out focus, we had to use a mathematical formula to determine the optimal focus length and exposure area. That same formula informed the size of the “lens” which was now going to be a 1/16th inch pinhole. We will leave the photo exposed for several months! We are all very excited to start the next chapter of this intensive with this awesome project.
As it goes at TEA, we worked hard on the first image that we created with the camera but failed. So we decided to do something that could make us fail tenfold. The multiple month Solargram project. More to come!
We’d like to appreciate Truckee Tahoe Lumber Company for supporting our project. Thank you for everything you do for our community!

